Medium Format Forum

Register a free account now!

If you are registered, you get access to the members only section, can participate in the buy & sell second hand forum and last but not least you can reserve your preferred username before someone else takes it.

First Image with new CFV back

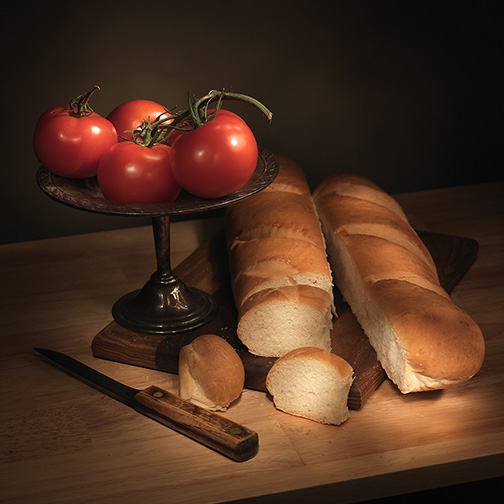
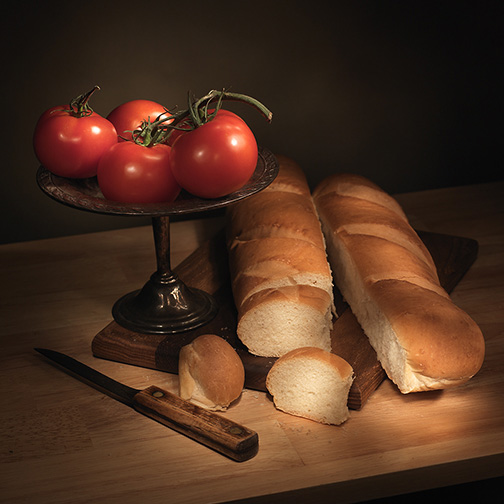
Hey guys. I finally have an image I don't have to apologize for (too much), and wanted to share my first CFV picture with you.
After a week or so of messing with the back and Flexcolor, I feel much more comfortable. Flexcolor, for me, turns out to be fairly simple in operation. I adjust the white balance, exposure, set to RGB 16 bit, and save as a TIFF. From there it goes to CS3 for final prepping.
As others have also stated before me, I am amazed at the clarity of this back, and the quality prints I can produce (up to 24x24 with a 170 ppi file).
For the first image I am sharing, I exposed it for almost 32 seconds in total darkness, light-painting with a small flashlight, using the 100/3.5 CF lens on bulb @ f11. I found that using the enclosed cable to connect lens to back was by far the simplest way to go for long exposures. Even when I can get outdoors with the rig, I will use the cable when exposures are slower than 1/8 sec, rather than mess with changing it in the anals of the back's software.
Michael H. Cothran
 

Attachments

  • A0061Less.jpg
    EXIF
    A0061Less.jpg
    100.3 KB · Views: 193
  • A0061Less.jpg
    EXIF
    A0061Less.jpg
    100.3 KB · Views: 192
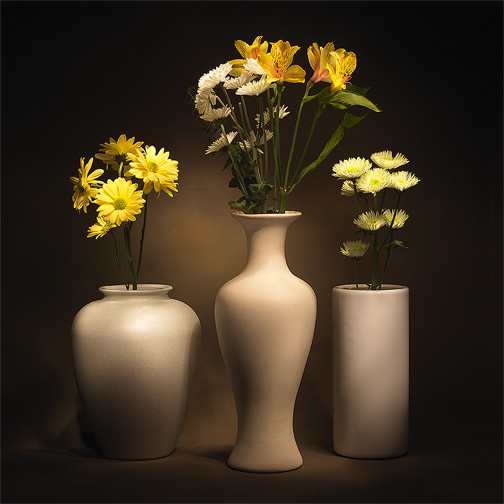
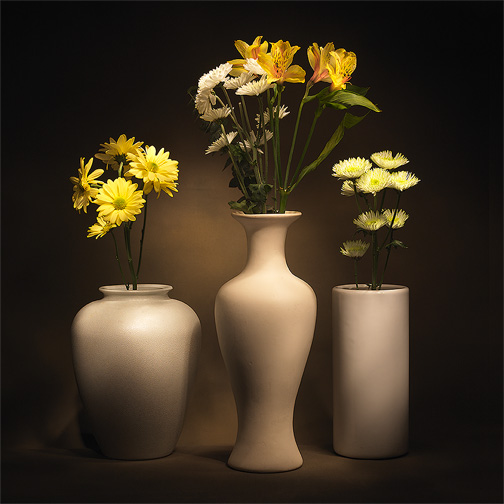
Guys, I wanted to go ahead and post a second shot I finished last night. This one is the same technique of light painting, with the 100mm lens set to bulb @ f8 this time. Something you can't tell in this small jpeg, but there is a pebbled finish in the vase on the left. In the 24x24 print I made of the image, this texture is as accurate as it is in real life. Just amazing. Although I can produce images with 5 times the file size from film, the clarity and cleanliness of the CFV images is superb, with a 3D effect that I don't see in scanned film. Man, I'm hooked!
Michael H. Cothran
 

Attachments

  • Sidecropped.jpg
    EXIF
    Sidecropped.jpg
    95 KB · Views: 191
  • Sidecropped.jpg
    EXIF
    Sidecropped.jpg
    95 KB · Views: 191
Hello Michael,

Great images. The way you "painted " them is interesting.

Makes me wonder what Rembrandt could have done with a 100 mm lens and a CFV back!

Paul
 
Michael

Yes , really great images . Very interesting . But you will need some experience to paint that way . What do you mean by : using the 100/3,5CF lens on bulb@f11 . ? ? ?

Paul

I believe Rubens would have used a fisheye lens . Look at his nude studies .

Jürgen
 
Michael

What do you mean by : using the 100/3,5CF lens on bulb@f11 . ? ? ?

Jürgen

I lit the image with a small handheld flashlight. In order to light the whole scene, I had to constantly move the flashlight around, pointing it at each area I wanted to highlight, and then waving it around so to have some fill areas also. Since the back will only remain open for 32 seconds, I had to accomplish the entire exposure in that time frame. I attached the connecting PC cable from lens to back. I set the f-stop to f11. I set the lens shutter to "B" (bulb). Turned off the room lights so it was dark, locked open the camera shutter with a cable release, turned on the flashlight and began "painting" around the image. Once I finished the light painting, I turned off the flashlight, closed the camera shutter, and reaped the results. In Flexcolor, I chose a custom white balance of 2600K, and adjusted the exposure slide by +1 stop (1.00). In Photoshop, I added a Curves Adjustment Layer, locking down the midtones and highlights, then dragging the toe of the curve a little to the right to darken the edges some. I applied a "Cothran custom" sharpening technique, where I create an inverted line mask, slightly blurred, and apply a very strong USM to it (500%, Radius - 3.0 pixels, no threshold). I change the blending mode to Soft Light, and adjust the opacity slider. For final printing and web presentation, I add a little more "pop" by applying a second USM using 10% sharpening, Radius -25.0 pixels, no threshold, and converting to sRGB. That's about it. Probably more than you wanted to know!
Michael
 
Very impressive - I tried a similar approach when comet Haley-Bopp was visible in central European skies - using a massive flashlight to highlight a large pear tree in the foreground. My grainy 1600 iso film images cannot compare with your smooth digital ones, though. Have fun and keep posting, Sinuhe
 
Well done Michael. It is a beautiful example and I especially like the lighting - beautiful!
 
Michael these are very beautiful. Thank you for sharing so openly your talents and creativity.

Matt
 
Back
Top